

In this article, we are going to create our mock API (Application Programming Interface). We are going to create an API about my favourite celebrity couple, Priyanka Chopra and Nick Jonas. We want this API to contain the couple's names and wedding anniversary. However, some concepts must be explained before we start creating the mock API.
What is API mocking?
To mock an API is to do what the word " mock " does, to closely behave like an API, although it could be lacking in many of the functional and non-functional characteristics of an original API. During development, front-end developers who consume API are mostly ahead of the backend developers and might experience issues with consuming API from the backend developers because the API might not be developed yet, or the developed API might have performance security or maintenance issues. In a scenario like this, using a mock API becomes beneficial. It can help the backend developers discover lapses in how the mock API processes the requests made by the front-end developers. In this article we are going to be guided by six critical steps :
Creating a GitHub repository
Cloning the created Github repository
Creating the database
Initializing npm in our project
Creating a .gitignore file
Pushing to GitHub
Deploying to the public internet
Create A Github Repository
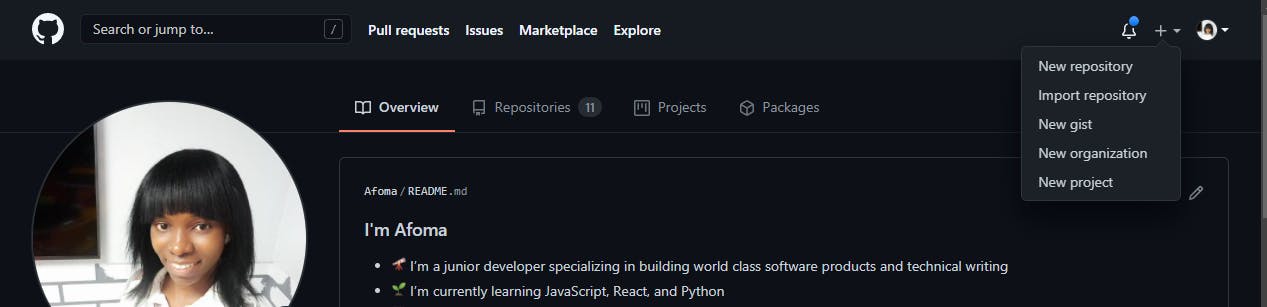
Click on the new repository in the dropdown
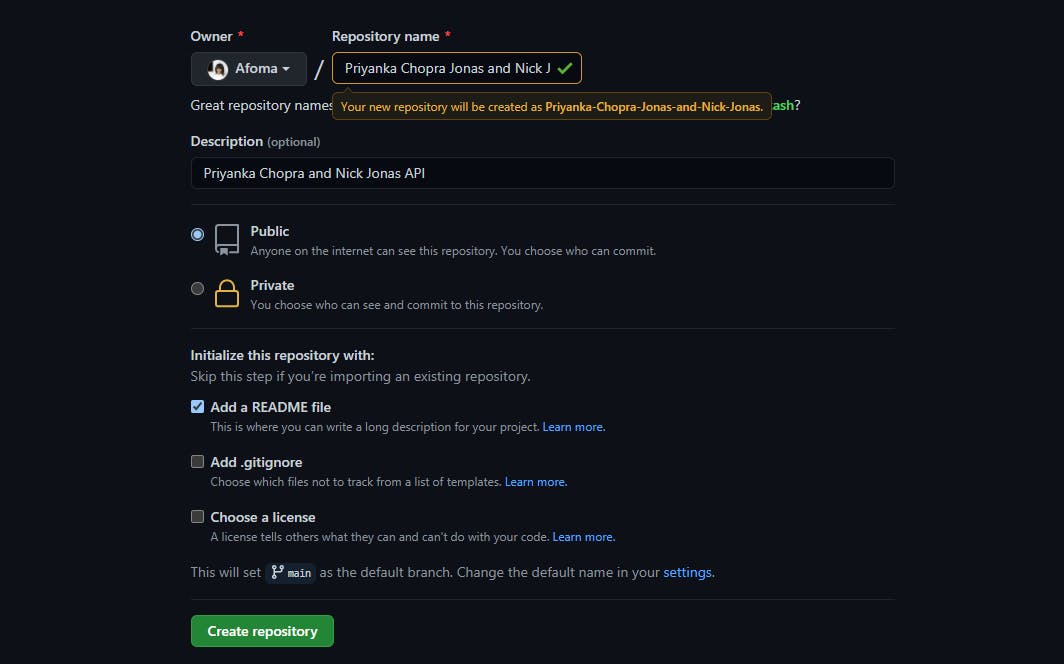
Enter the name of the repository into the Repository name box, I will name mine " Priyanka-Chopra-Jonas-and-Nick Jonas "
Enter a description into the Description box, mine will be " Priyanka Chopra and Nick Jonas API "
Tick the Add a README file box
Click on the Create Repository box
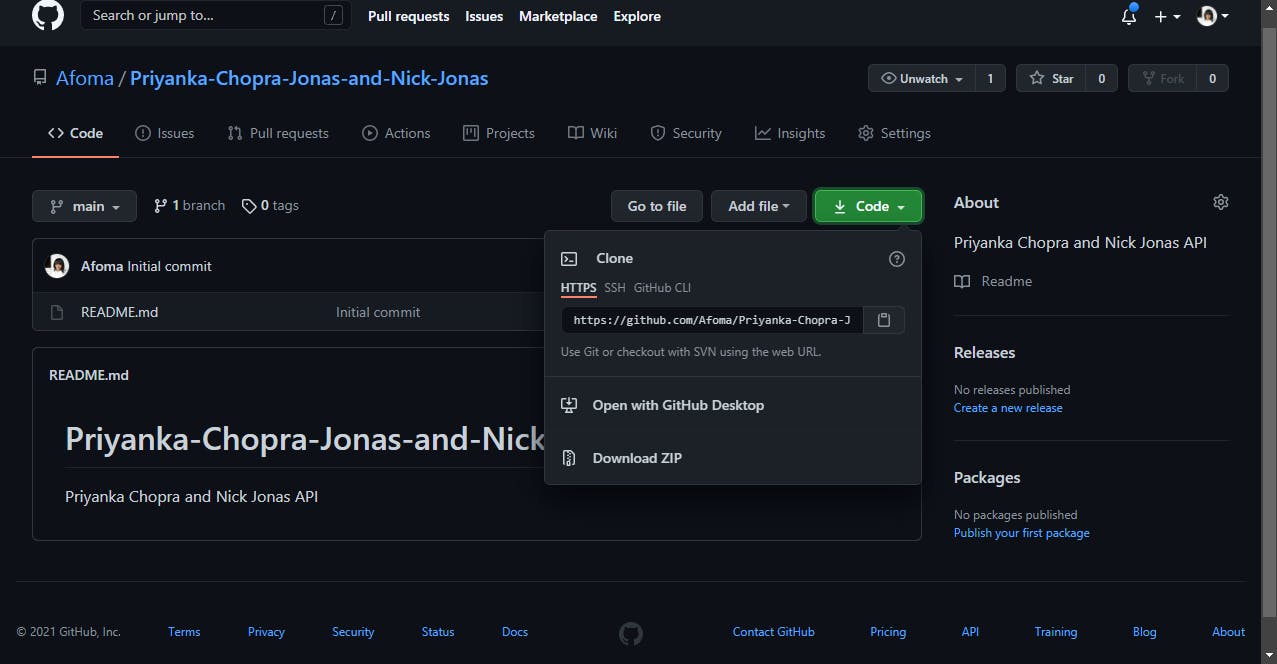
Doing this will take us to the page where we clone our repository
Click on the code button
On the dropdown, copy the URL displayed there
Cloning the repo
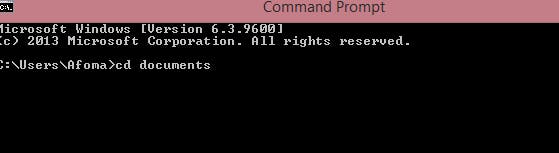
Open the command prompt
On the command prompt, go to a preferred folder, I use the documents folder, by typing " cd " and then the name of the folder
cd documents
- Clone the repository into the folder, I did it by typing " git clone " and then right-clicking and clicking on paste
git clone

Change the directory into the new folder
Then open your code editor ( I use VS Code )from the terminal by typing " code . " (there should be a spacing between the word " code " and the dot (.))
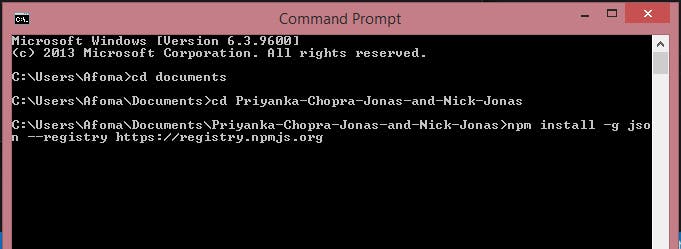
cd Priyanka-Chopra-Jonas-and-Nick-Jonas
code .

Creating Our Database
- In the code editor, we will create a file, I'll name mine " database.json " We are going to create a package that will help us create our database online, and we'll also specify the registry -On the command prompt, type
npm install -g json-server

However, if you have an error, type
npm install -g json --registry https://registry.npmjs.org
We should have a success message that reads like this

- We start our JSON server with our newly created database by typing
json-server --watch database.json
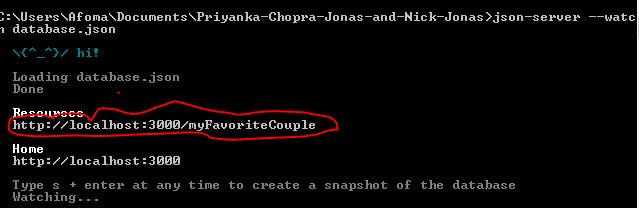
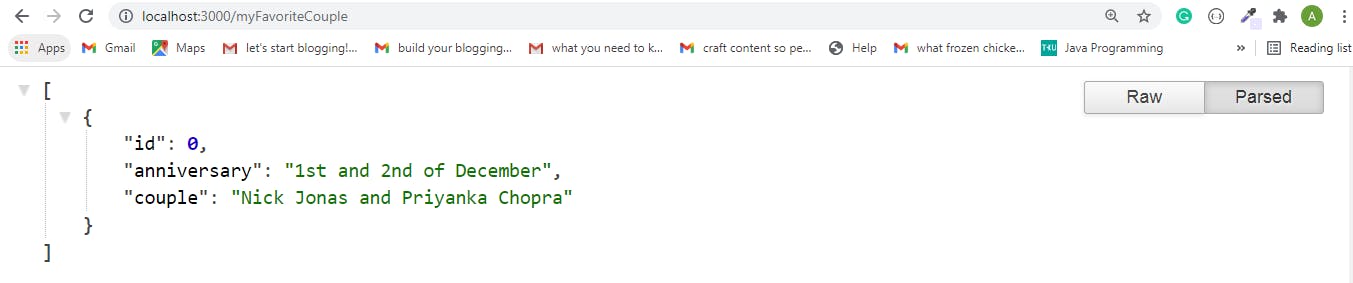
- We'll copy the link I highlighted above and paste it into a new tab on our browser and see our database of information about Priyanka Chopra and Nick Jonas
We can cancel the GET request on the terminal by typing
Ctrl + Cand thenyoryesOn our terminal, we will add the file we just created to our GitHub repository by typing
git add.
Press enter and then type
git commit -m" add myFavoriteCouple"
then
git push origin HEAD
Initializing npm In Our Project
- On the command line, we type
npm init
or
npm init --y
or
npm init --yes
this will create a package.json file
- To create a package-lock.json file, we type
npm i
- To install JSON server dependency, we type
npm i json-server --registry https://registry.npmjs.org
We will write a script in our package.json by writing start as the key and node server.js as the value, in the scripts object, just under the test property to serve up a file.
  "scripts": {
    "start": "node server.js"
  },
If we need to add authentication, validation, or any behaviour, we can use the project as a module in combination with other Express middleware.
- We create a file which we will name
server.js, it will act as our mini-backend, and write this code into it
const jsonServer = require('json-server');
const server = jsonServer.create();
const router = jsonServer.router('db.json');
const middlewares = jsonServer.defaults();
const port = process.env.PORT || 3000;

server.use(middlewares);
server.use(router);

server.listen(port);
Let's take a little look at the code
require('json-server')
-this is where we import the JSON-server file, for us to be able to make use of the node module (JSON-server)
jsonServer.create()
-here, we created the json-server, we only initially imported the file in line but we have not yet started making use of it.
-this current line runs a function( the method- " create " ) inside the json server which will start the server
jsonServer.router('database.json')
-this line tells the server where to locate, store and get the file we are supposed to use as our storage, we use the database.json file as our storage, where we would keep everything that the JSON server is serving to us on the backend.
jsonServer.defaults()
-this line is where we say that we need just the default methods (the POST and GET methods)
process.env.PORT || 3000
-this will set the environmental variable PORT so that the server will know what port it will listen on. It's either it listens to what is in the environmental variable PORT or it listens to 3000 if nothing is there to listen on the environmental variable PORT
server.use(middlewares)
-here, we tell our server to use the middleware that we created
server.use(router)
-here, we tell our server to use the database we routed
server.listen(port)
-we are telling the server the particular port the app should run on
The .gitignore file
We create a .gitignore file to specify to Git which files or folders to ignore and never track in our project.
In the .gitignore file, type in
node_modules
this will prevent the node_modules folder from being sent to GitHub because it is huge.
- We go to our terminal and type
git add .
- Then we type
git commit -m"our message"
I will enter add server as my message
- Then we type
git push origin whatever is our branch name
I will type in HEAD as the branch name
- If after you've done this and refreshed your GitHub page and the node modules are still there then you would have to clean your Git cache by entering this in your terminal :
git rm -r --cached .
then enter
git add .
then
git commit -m"our message"
I will enter add server as my whatever
- then
git push -u origin whatever is our branch name
- I will type in HEAD as the branch name
Deploying to Heroku
We can do this by downloading it and then installing it, for Windows users or entering this command in our terminal for Mac users
brew tap heroku/brew && brew install heroku
- On our command line, we enter
npm install -g heroku --registry https://registry.npmjs.org
- We can check the version of Heroku just to be sure we have it on our system by doing this
heroku -v
- We have to ensure that we are logged in by entering
heroku login -i
- We will now create our app from the CLI by entering this
heroku create app's name
// I named our app priyanka-and-nick-jonas
- We will now push our newly created project to Github by entering
git push heroku main
- We now open Heroku by entering
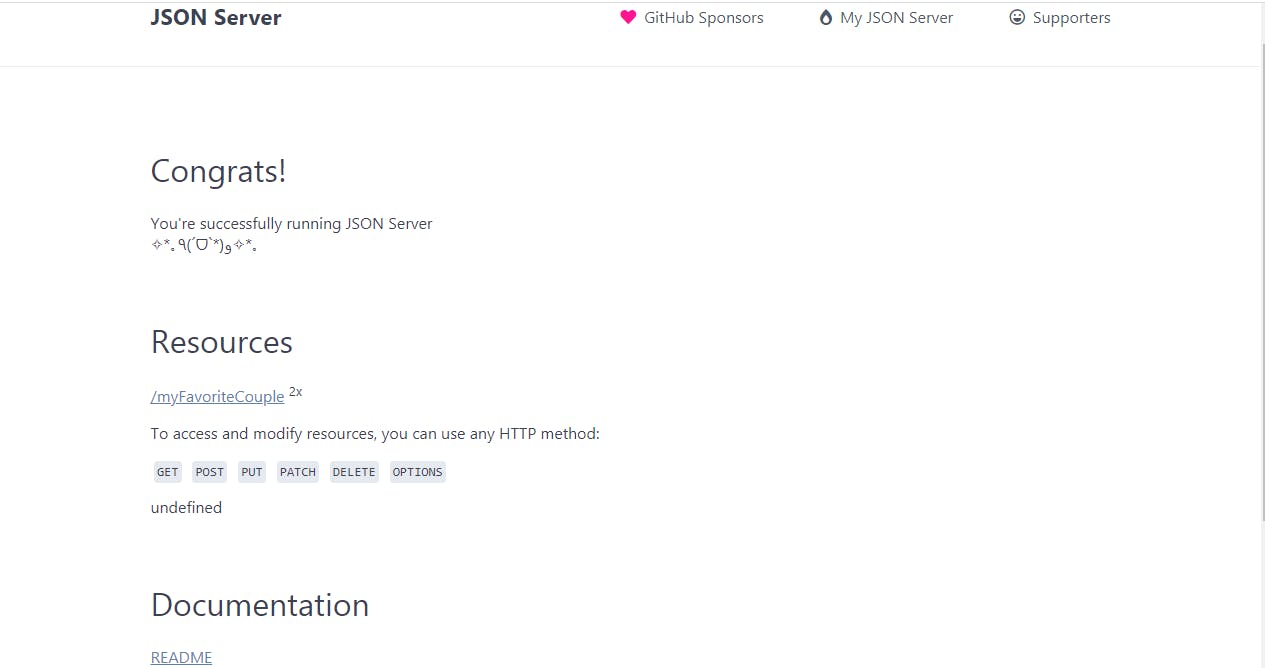
heroku open
- This takes us to this page.
Let's try out some HTTPS requests with our new mock API
We'll be using Postman to make our requests. We'll make GET and POST requests Below are their syntax :
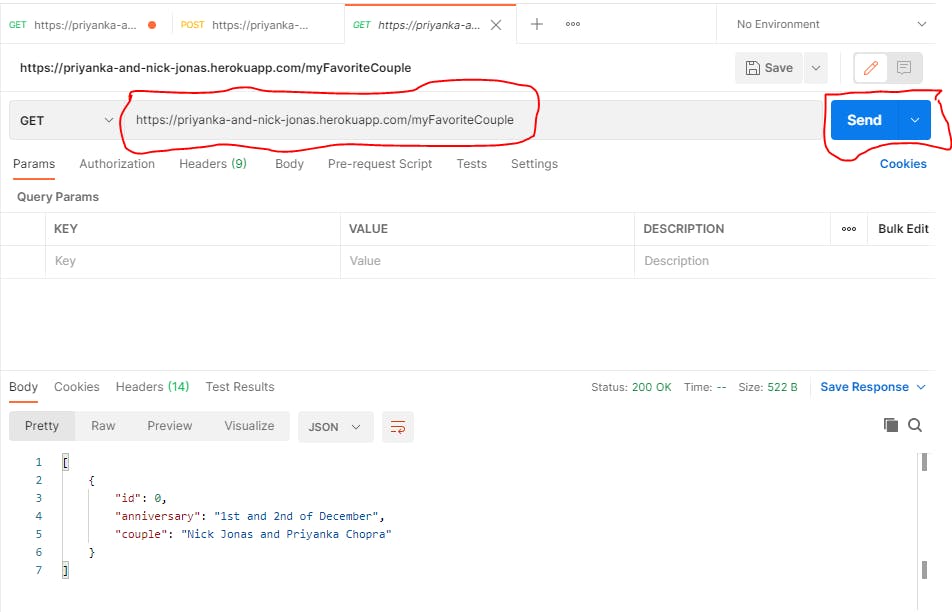
GET request
Paste the URL + app name into the URL column, that is, priyanka-and-nick-jonas.herokuapp.com/myFav..
Send This will get the JSON object from the database and return it to us
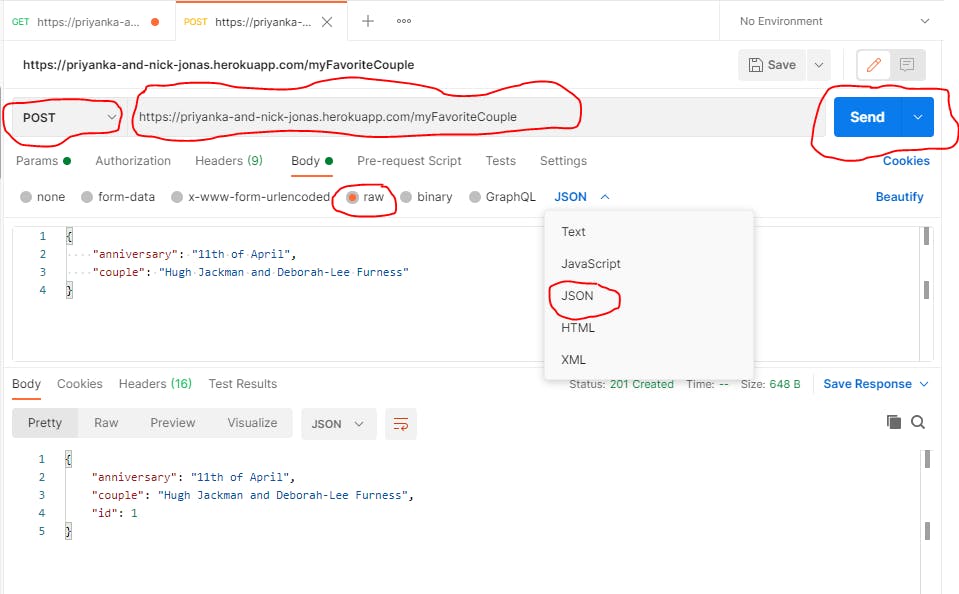
POST request
Select POST
Paste the URL + app name
Select raw
Select JSON
Send This will submit or post the new JSON object to the database